(Windows version 26.0.)
For this, I assume a Windows desktop, and that you have a webcam and want to use OBS Studio to be your output to other video applications (like discord).
Download OBS Studio. As of this writing, the current version is 26.0.
As of 26.0, the Virtual Camera is included and no longer requires a separate download.
Install OBS Studio (straightforward click through):
Launch OBS Studio (which can be done from the installer).
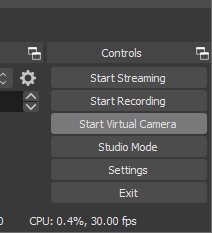
Click the button to start the Virtual Camera here:
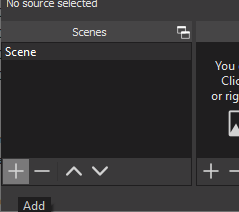
Let’s check and make sure it works. Create a new scene (hit the + button under “Scenes”):
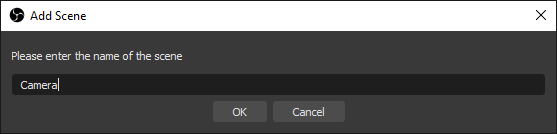
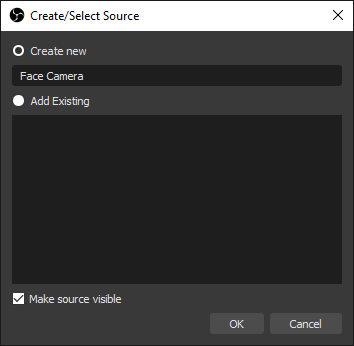
Call it “Camera” (or whatever):
(Explanation: we’re creating the camera as a separate scene so we can share the same USB camera across multiple scenes. It enables some of the more fun tricks you can do with OBS Studio.)
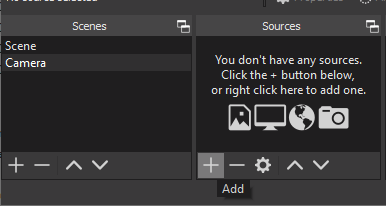
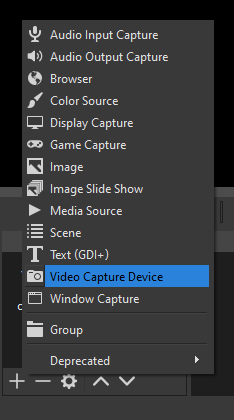
Add a video capture source (this should be your normal webcam, mine is “USB Camera”):
Make sure the properties dialog has video of whatever the camera is looking at. (Here’s me with my greenscreen, face blurred in case this gets spread widely.)

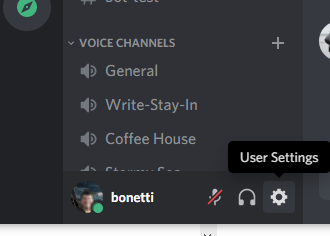
Open the app that’s going to use it. I’m using discord, because that’s our virtual gathering space.
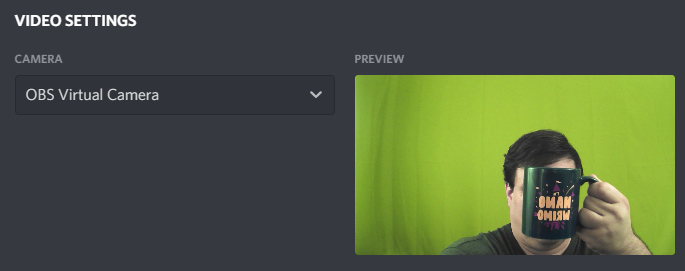
Under settings, set your video camera to “OBS Virtual Camera”, which is the default name of the OBS Virtualcam. In discord, that’s this series of steps:

Now, you can get fancy with OBS to have some virtual fun! (See my guides for Configuring Green Screen, and Fun OBS Studio Tricks.)